
dat het gaat. Voor dat het zover is wil iedereen natuurlijk zijn huis helemaal omtoveren in de
gezellige kerstsfeer, en wat mag er dan eigenlijk niet ontbreken.....iets wat je zelf heb gemaakt.
De tutorial die ik jullie ga brengen is van Asley Horton, designer by American Crafts.
Lets start.....oke!!!
Begin by cutting your 12x12 sheet of paper into 3x3 aquares. This will give you 16 squares and
you will use all of them to create the cones for the ornament.

along the backside. I flattened the skinny ends of my cone shapes to keep them from
making the center of the ornament too bulky.

at 4 inches and then began placing the cones in a cross shape to make sure I end up with an
even edge once all the of the pieces were in place.


base cone pieces. This will fill in the empty gaps and help create some dimension on your
ornament.

some sparkle to it bu applying Zazz Glitter Glue over some of the leafs shapes.
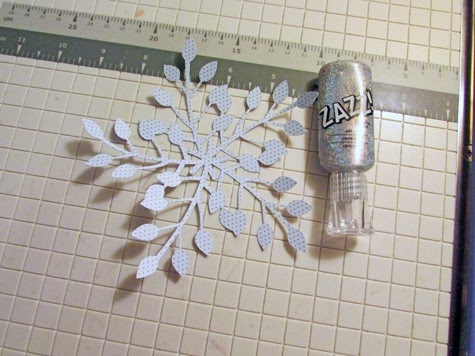
some Zazz to the holly leaves die cut shape for extra sparkle. You can attach a ribbon bow to
the backside of your ornament for hanging it on your Christmas tree.


family or friends.

Merry Christmans everyone!!!!!
1 comment:
Leuke tutorial Astrid,deze ga ik onthouden!
Post a Comment